What is a Lithophane?
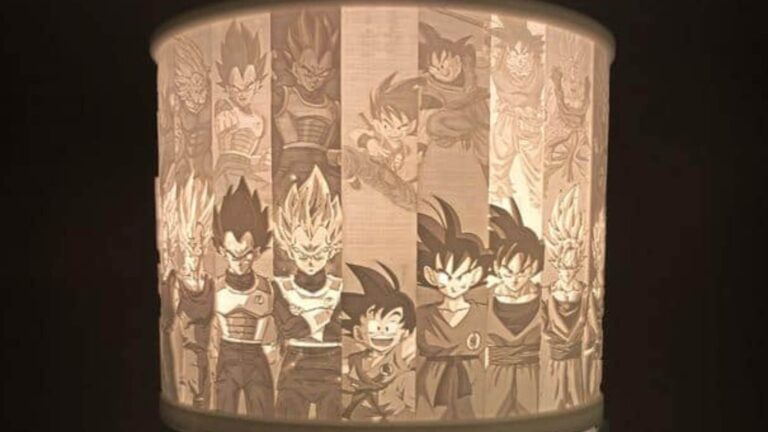
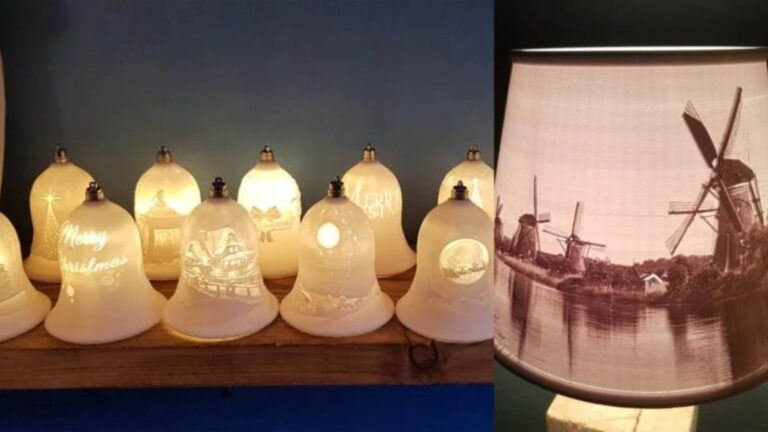
Lithophane is a 3-dimensional image that essentially looks like embossed photos.
It changes according to the intensity and the quality of the light passing through it.
The lighter or thin areas allow more light as compared to the darker and thicker ones.
Lithophanes were traditionally made from wax, plaster moulds and fired in porcelain. This was before photography was invented. 3D printing has bought back lithophanes which were out of trend as clicking quality photographs has become more accessible.
On top of that, the latest 3D design and printing technology make creating lithophanes easy as pie.
This makes lithophanes a customized and unique gifting opportunity. You can now easily convert any photo to a Lithophane. As for the printing, you can DIY with a cheap printer or get an expert to print it for you.
This article will help you convert your 2D photos into 3D models. We have also covered the different ways to print it.


How to convert image files to 3D?
Here’s how:
Step 1: Choose an Appropriate Image You need to choose a picture or photo which has a high contrast ratio. If the image has a low contrast level, try converting it into a black-and-white image and raising contrast levels.
If you like, you can also erase your background by using an image editing tool.
Step 2: Choose Software to convert your 2D file. There are multiple software programs and online tools for converting a 2D image into a 3D image. Given below are some of the options available –
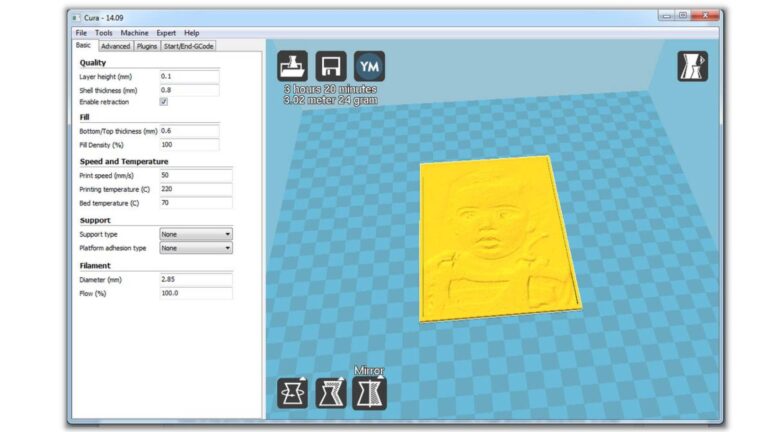

CURA :
You can use a 3D Printing Slicer software to create a Lithophane easily. Cura is one of the most popular slicing software by Ultimaker, the 3D printer company. It works on a variety of printers and has a very large user base. Cura also provides additional features such as meshes and photo uploading.
Cura is fast and easy to use, however the software lacks advanced features like adding frames to pictures or moulding them into a variety of shapes. If you are just starting out or pretty new to 3D printing then CURA is a great choice.
The first step is to make sure the image file is on your computer.
Now, Launch Cura, then import the image by selecting “Open File(s)” from the File menu.
A pop-up window with settings that will impact how the image appears when printed.
This is where all the magic happens:
- Height: This refers to the thickness of the design. While you can make it as tall as you want, we recommend not going over 5 mm, as that greatly increases print time.
- Base: The base is what the image will be printed on, and the height will be added to the base. Think of it as the foundation of a building.
- Width: This relates to the overall surface area of the model, and the value entered here determines its width.
- Depth: Somewhat misleading, this setting refers to the length of the model. So, increasing the value in this field will make the model longer.
- Contrast: After setting the dimensions of the model, select the “Darker is higher” option to make the darker parts of the image block the light.
- Colour Model: Some Cura users have mentioned that, in theory, the translucent version would result in better lithophanes, but both the linear and translucent models should work.
- Smoothing: Increasing the smoothing will make your image less defined. For the best-looking lithophane, set Smoothing to 0 or between 1-2.
After selecting your settings, Cura converts the image to a 3D model, and at this point, you simply slice the file and save the G-code.
Before you do that, though, we recommend you take a peek at the printing tips below for recommendations on print settings, as well as the print orientation of your newly created model. So, for now, just save the model as an STL file.
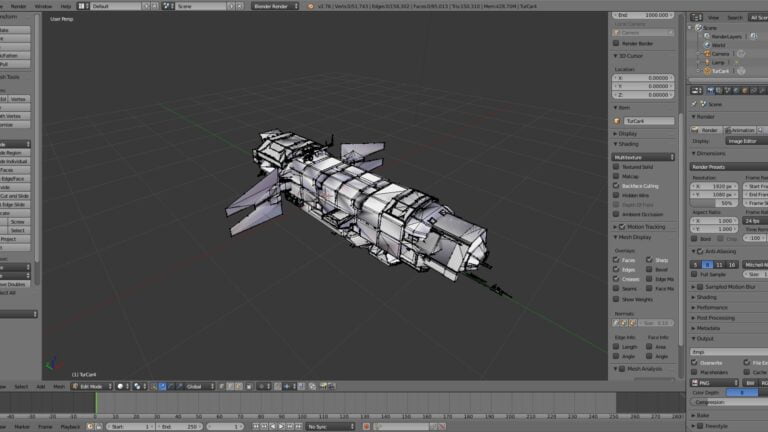

Blender:
CAD and 3D modeling software are other options for creating lithophanes.
Blender is a great choice, especially if you try online image-to-lithophane converters and they produce broken STL files.
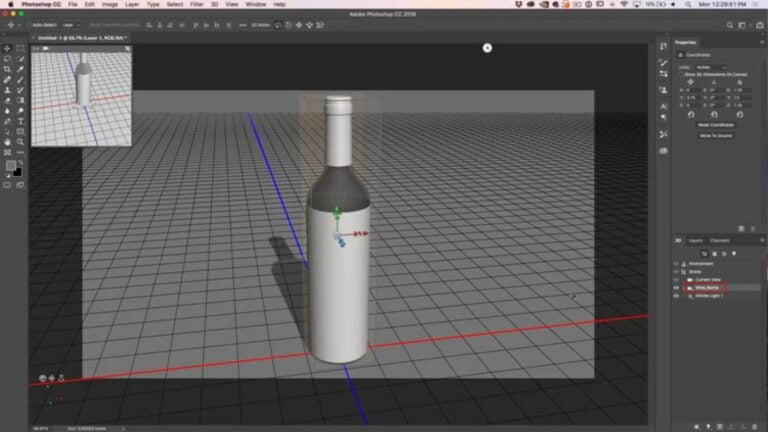

PhotoShop :
Photoshop offers a very streamlined process. Ever since Photoshop CS5, Adobe has been adding features to work with 3D elements in the software. These features often help with turning 2D objects into 3D.
To get started, download the “Make lithophane” action set. It’s best to copy and paste the link in a new window, and the download will begin automatically. Once you’ve downloaded it, drag and drop the .atn file onto your Photoshop window to install it.
Then, do the following:
- Open your photo with Photoshop.
- Go to the Window menu and check “Actions” (or press “Alt + F9”) to open the actions tool.
- In the Make Lithophane folder, choose the action and click the play icon beneath.
Photoshop will now go through a series of actions (such as adding texture maps) to create your 3D lithophane. When it’s done you should be able to see your lithophane. You may need to blur the original image to soften any jagged edges.
Keep in mind that the whole process is based on Photoshop guessing the right depth, which it does based on the difference in contrast. Therefore, pictures with sharper contrast will likely yield better results.
The action will take some time, ultimately depending on your system specs, and Photoshop might be unusable during the process. In order to avoid the software crashing, be patient and don’t click on anything during this time.
After your lithophane model is designed and ready, you need to export it to an STL format. Here’s how to export your work:
- In the 3D menu, click on “3D Print Settings”.
- The Properties tab will show on the right. From there, select “Local” from the “Print to” menu, then change the “Printers” to “STL File”.
- Next, set the printer units to “Millimeters” and the detail level to “High”.
- Press the tiny “Start Print” button on the bar underneath.
The export process can also use a lot of memory and cause Photoshop to freeze, depending on your computer. But once it’s done, your 3D lithophane will be available in STL format!
It’s also important to mention that, while these instructions are pretty standard, a number of users have reported difficulties downloading the action set and creating the lithophane in Photoshop. If you experience any difficulties, you might want to try one of the other approaches
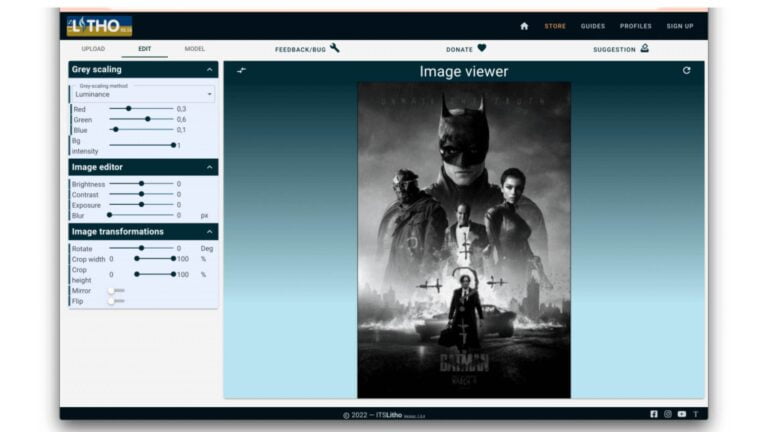

Online Apps like – It’s Litho & Lithophane Maker :
A third method of acquiring STL files for your lithophanes is using image-to-lithophane converters. Most of them are browser-based services that convert your image into an STL file for you. There are multiple options, such as 3DP Rocks, ItsLitho, and Lithophane Maker.
Generally, they all work the same way. You upload your image, choose the shape or frame you want, then download the STL file to your computer.
With image-to-lithophane converters, you tend to have more customizability with less complexity. For example, ItsLitho gives you the option to adjust the image’s colors and insert a frame. The converters also allow you to change the shape of your lithophane from planes to arcs and spheres. These features are hard to come by in slicer software.
So, if you want more options than a slicer but would rather not fiddle around with Photoshop, give an image-to-lithophane converter a try.
The process is very easy. We’ll demonstrate with 3DP Rocks:
- Head on over to 3DP Rocks.
- Click on the “Images” tab, then upload your image.
- Once you return to the Model tab, you’ll notice your lithophane is almost ready. You can choose different shapes for your lithophane.
- Tweak the settings in the Settings drop-down menu until you’re satisfied with the result.
- Finally, click “Download” in the Model tab.
Once you do that, your browser will download the STL file, and you’re ready to proceed!

Step 4 : Print your Lithophane
Next, 3D print the lithophane on the Form 3. For the quickest results, print the file with the flat side directly on the build platform with no support.
Alternatively, printing vertically will enable you to print large lithophanes, up to 185 mm by 145 mm. This will also simplify removing parts from the build platform and allow you to 3D print up to 19 lithophanes in one build, significantly increasing the efficiency of the process.
- Open the STL file in PreForm, Formlabs’ slicing software tool. PreForm will automatically detect any integrity issues and repair your model.
- Orient the file on the Build Platform using the Select Base feature.
- Print the file in Standard White Resin at 50 microns for the best results. If you’re rushed for time, 100 microns will still give you great results.
Get Your Own 3D printed lithophane
We hope this guide helps you in your 3D printing journey. In case you’re still learning about 3D printing and don’t have a printer yet, we can do it for you.
All of our lithophanes are printed using factory compostable bioplastics. We offer next day dispatch as well.
Along with lithophanes, 3D Motifs offers other 3D Printing services such as rapid prototyping as well.
In case you were just looking for more information on 3D printing, you can read our blog if you want to find how 3D printing was invented, its place in the mass manufacturing process and so much more.
If you have any questions or feedback, feel free to get in touch with us via call or DM us on instagram or facebook.

FAQs
Can I use PLA for lithophane?
PLA is the most preferred material for printing.
If you’re going to place the final print indoors, PLA does the job as it’s easy to print compared to PETG and other materials.
If you are planning to put it outdoors on the porch or an outside display, it is better to use PETG or ABS. However, PETG is a more complicated printing material.
What is the max thickness for lithophane?
0.4 is the minimum and 3.2 mm should be the max thickness of a Lithophane. As it works on light and contrast, this range will give stability as well as image clarity.
If there is more thickness, light won’t pass and the image may not be as clear. If it’s too thin, the lithophane may be prone to easy breakage.
What nozzle is best for lithophane?
0.4mm nozzles are the commonly available nozzle size, and they are perfect for printing Lithophanes. A smaller nozzle (0.2mm) will capture more details but will increase your printing time.
A thicker nozzle (0.6mm or more) will be faster however the image details will be lost in the print.
Should I print lithophane flat or vertical?
It is better to print vertically when printing with an FDM 3D Printer. The resolution is better in the Z axis as compared to X or Y axis in which certain image details are lost due to the nozzle size.
What is the best layer height for lithophanes?
The best quality Lithophanes aim for 0.12 mm – 0.18 mm layer height. This will ensure detailed 3D-printed Lithophane. We recommend a small layer height and slow print speed for the highest quality.

